What this step covers:
In this step, we will be initializing your Borealis hub for use, and then adding it to your site.
What is a hub?
The Borealis Hub Provides connectivity to the cloud and the field hardware you are using on your Borealis system.
Before you begin you will need:
- Web browser with access to https://keri.aetheros.net/
- A registered Borealis account, with an Organization and System.
- Your site to be created.
- A physical Borealis hub ready for configuration.
- a DHCP Enabled network, with Internet connectivity.
1.0 Initializing your Hub
Important Note:
The hub does not require any configuration – it is pre-configured to obtain a DHCP address from an internet-enabled network (the same network that the controllers will be connected to), via a hard-wired Ethernet connection.
1. Power-up the hub.
2. Use an Ethernet network cable to connect the hub to the internet router/hub.
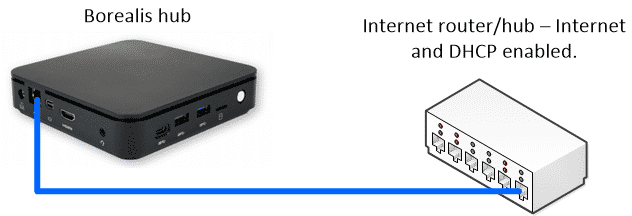
3. Wait a few minutes while the hub initializes and obtains a DHCP address from the router. The hub will then connect to the internet.
4. The controllers will also connect to this same network that the hub is connected to.

5. Once connected and online the hub will be ready to add to Borealis.
2.0 Adding your Hub to your System
At least one hub is required per system
Each hub is configured for a specific controller type (either NXT or NXT-MSC).
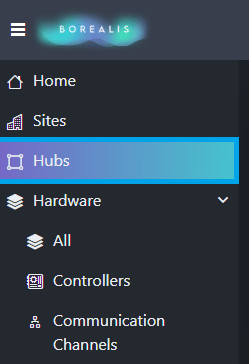
- From the Borealis Dashboard, click hubs on the left.
2. Click the CREATE button located on the right.

3. The create hub window will appear.
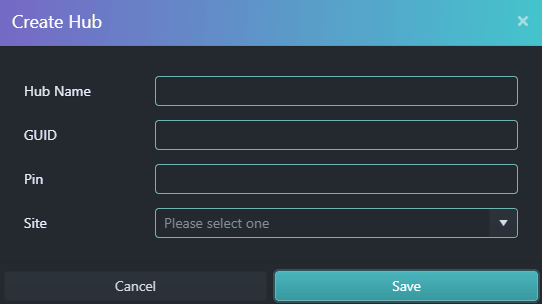
4. Enter a name for the new hub.
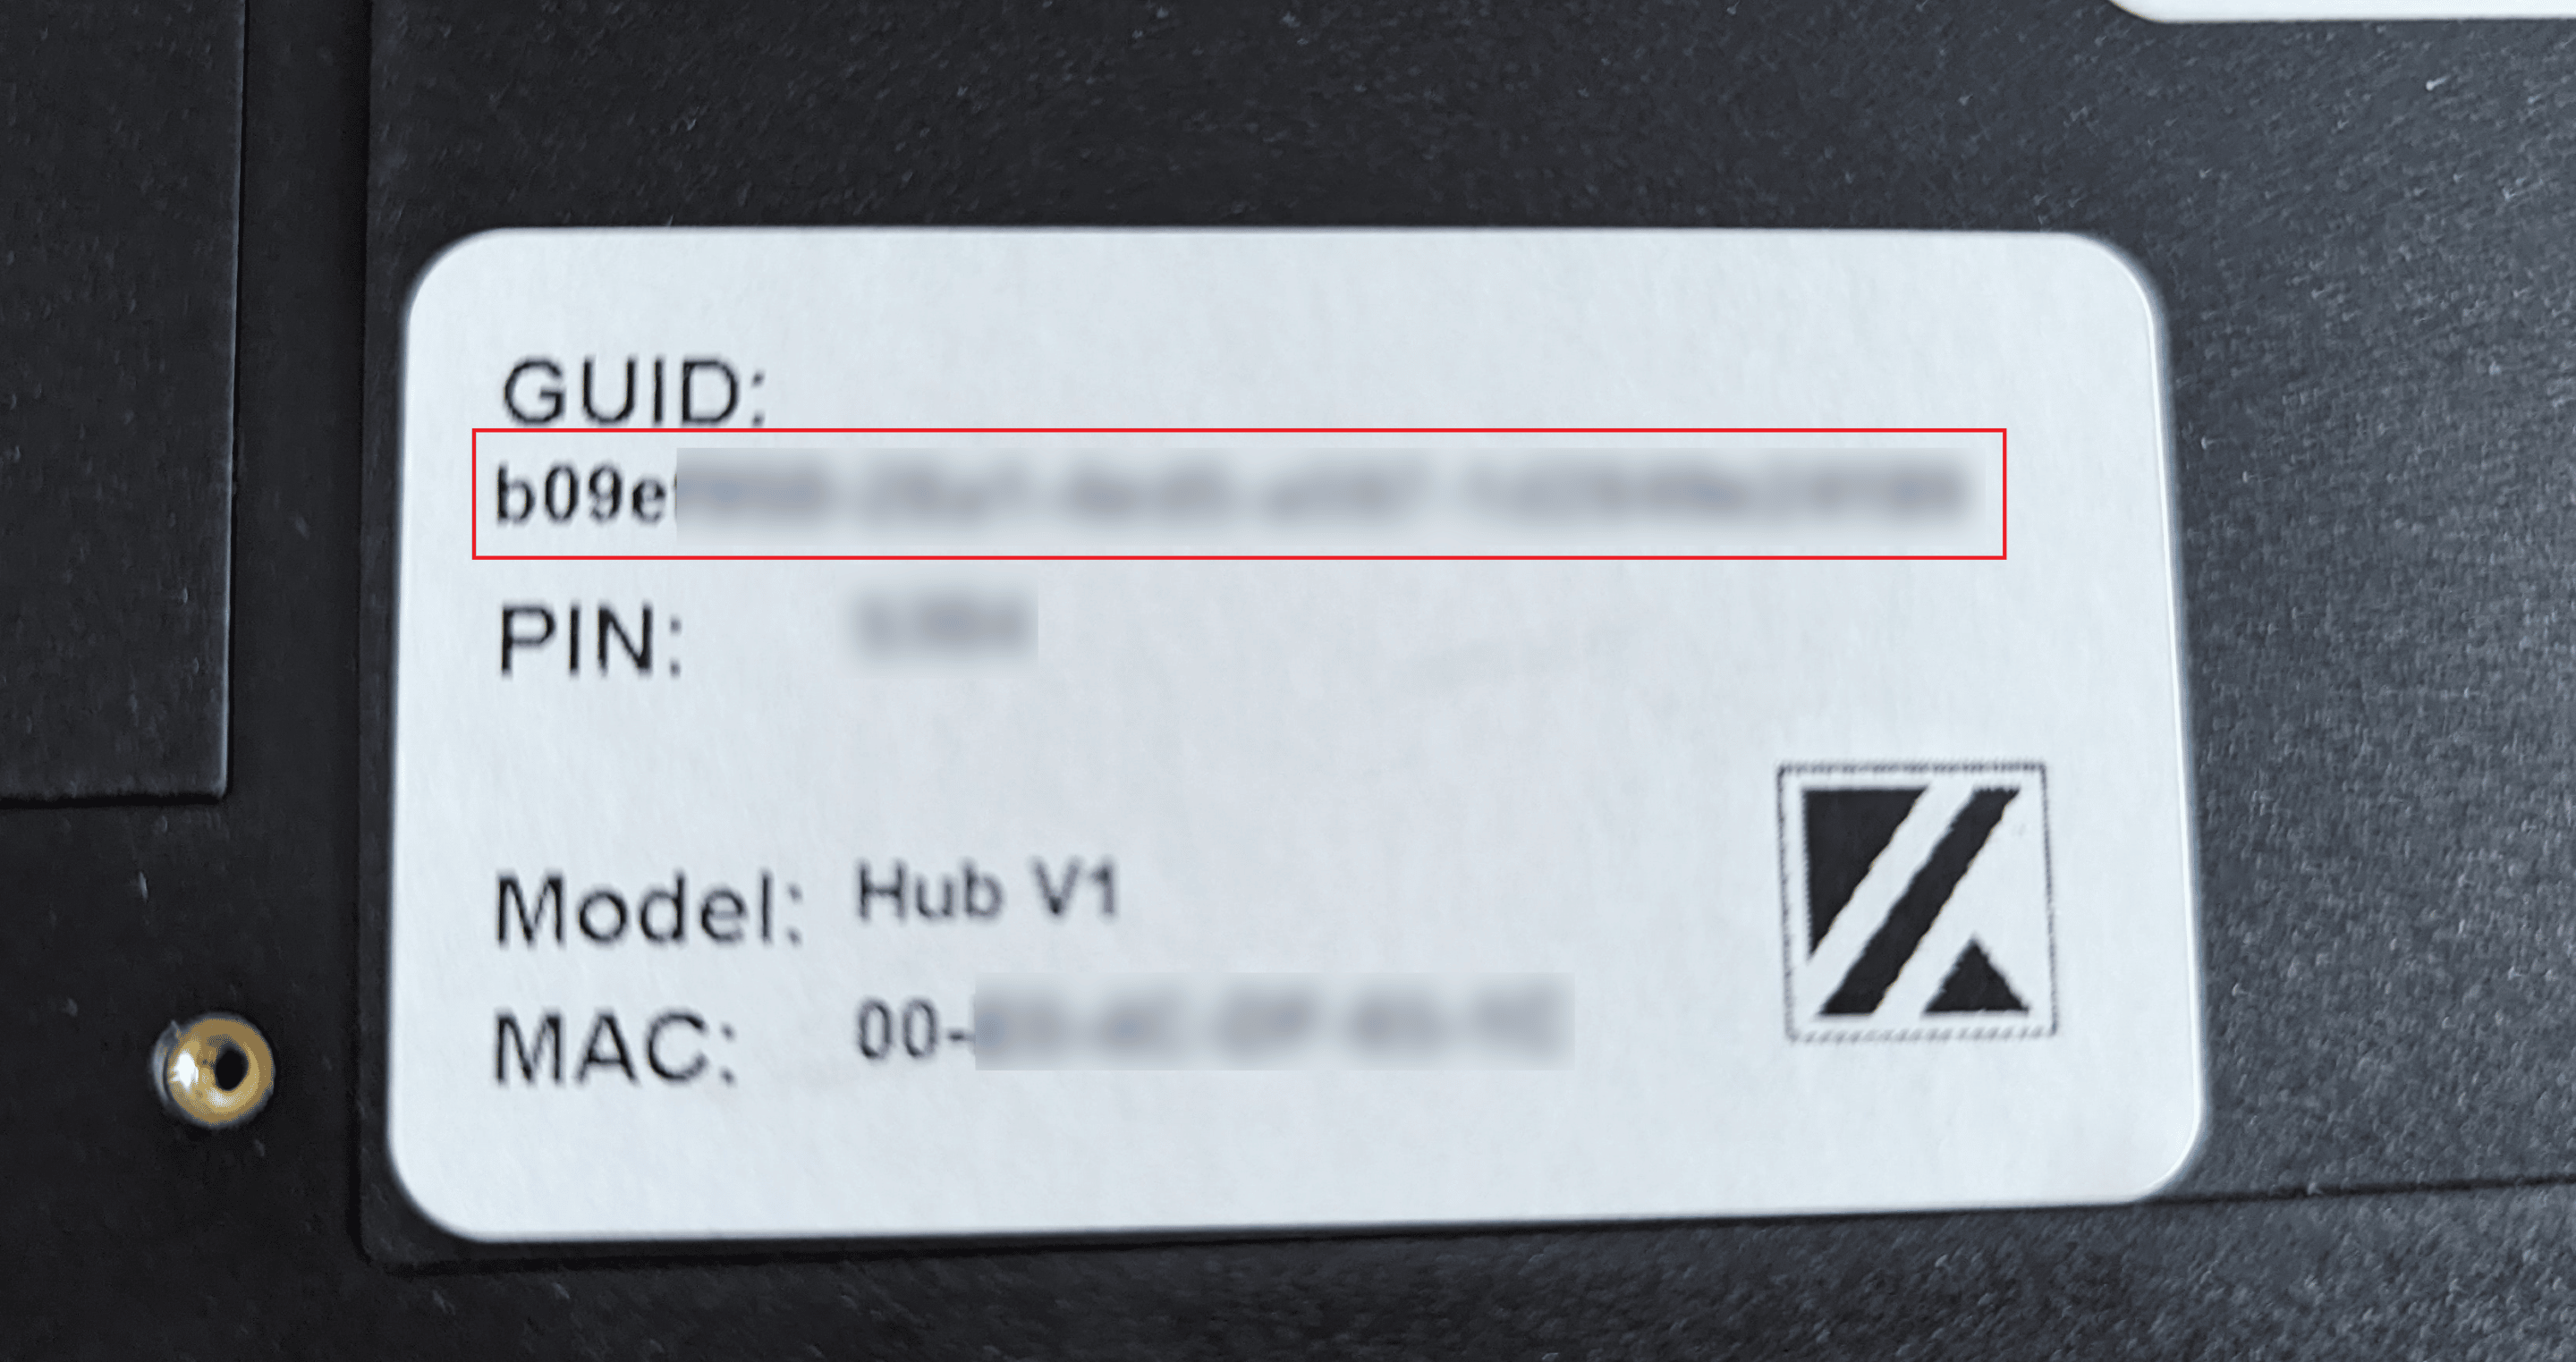
5. Enter the hub GUID (this will be printed on the outside of the hub).
6. Enter the hub PIN (this too will be printed on the outside of the hub).
7. Select the site you would like to assign this Hub to.
8. Click the SAVE button.
9. At the top of the screen you will see a message that the new hub is claimed.
10. The hub will then appear in the list and will initially appear as offline… after a few seconds, the status will be online.

2.1 Wait for the Hub to Update
Note: It is important to wait 10-15 minutes for the hub to perform its initial update. Failure to wait may result in problems adding controllers to the system.
The hub will begin updating a few seconds after it comes online. While the hub is updating the status will display ‘UpdateStarted’.
The status will continue to display ‘UpdateStarted’ for 3-5 minutes. Wait until the status displays ‘UpdateCompleted’.

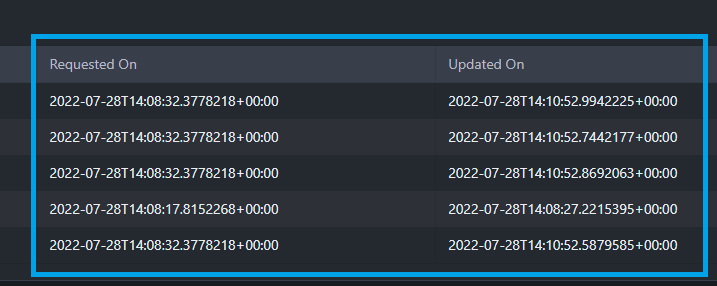
Click on the name of the hub – this will display the hub information screen. Ensure there is information showing in the ‘Updated On’ section:
The next step is to add controllers to the system.
What is a Hub?:
The Borealis hub is a piece of hardware that allows communication between your Borealis system, and the hardware you have installed.
